

Lifestyle/Opinion.
@kirsten.meyers6
Fall season is coming and I want to start off by giving you all some DIYS to begin your fall decorations. These fall DIYS will be simple, yet elegant. Hopefully, some of these DIYS will be of use to you. Lets begin.
 For this first DIY you will need some plastic pumpkins (you can get as many as you want, or as little as you want) which you can get from Michael’s, and Joann Fabrics. All you’re going to do is put the pumpkins wherever you feel like it. I personally would put it on a porch and line them up with white and orange pumpkins.
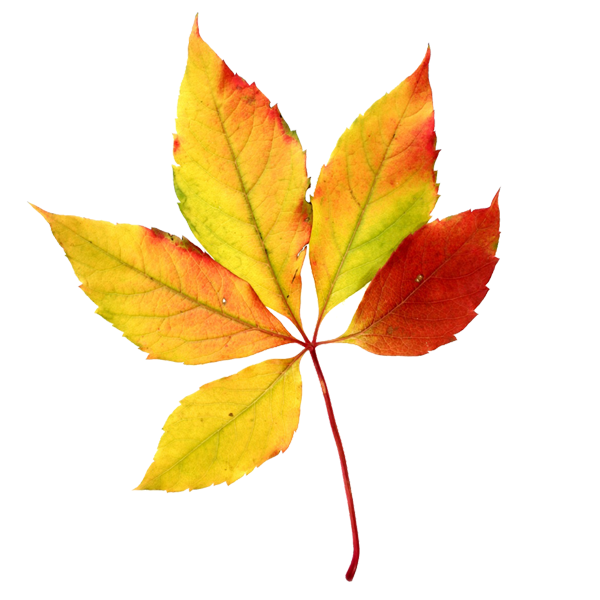
For our next project, you’re going to need fake leaves, a plain wreath, and a hot glue gun. You can get all of these thing at your local fabric store.
Step 1. This is completely optional but if you want, you can go ahead and paint your wreath with whatever color(s) you want to paint it.
Step 2. You’re going to take your leaves and position them any way you want, you can also add more things than just the leaves. After all, you are the creator. BE THE PROJECT, DON’T LET IT BECOME YOU.
If you’re into baking then you will love this, you’re going to need sugar cookie dough either homemade or storebought, it doesn’t matter. A cookie cutter, and a rolling pin (if you don’t have a rolling pin, you can easily use a cup).
Step 1. You’re going to take some flour and rub it on the surface you’re going to be using to roll out your dough, you’re then going to rub some flour on your rolling pin, put the dough down on the surface and start rolling out. Once you have a nice big circle that isn’t too thick or thin, you can start on the next step.
Step 2. Take your cookie cutters and just place them down on the dough and remove the excess dough. Once you remove your cookies from the cookie cutters, just place them on a cookie sheet. Repeat this process for however many cookies you may have. Follow the baking instructions with whatever dough you’re using.
For our last DIY, you’re going to need a crochet hook (any size will do), dark brown yarn, some sort of measuring tool, and a crocheting needle. If you’re more into knitting/crocheting well, you will like this project then. All you’re doing is making a basic falls hat. (If you don’t know how to crochet you can refer back to my Article on the basics of crocheting + the many videos out on youtube that you have access to).
Step 1. Take your tape measurer and wrap it around your head, or however many times you need to wrap around your head. Now place your hand on the measurement or don’t forget what you had and you’re going to lay down your tape measurer and start off with step 2.
Step 2. Take your crochet hook and yarn, now make a slipknot stitch and from that same stitch you’re going to loop over how many it takes to fit your measurement. For mine it’s approximately 40-60 stitches. It also all depends on what brand of yarn you have as well.
Step 3. Once you are done with the loops, you’re going to now take the first loop on your left side and stick your hook in the loop, then yarn over once, you should now have a double crochet loop, You’re now going to yarn over in both of the loops and continue the process until you get to the end. You’re going to repeat step 3 for the next 3 or 4 dozen rows you do until you know this fabric block will fit comfortably around your head.
Step 4. Now that you’re done with the looping, you’re going to take your hook and pull the string in with about 20/25 inches of yarn or how ever much you think will need when you’re going to stitch this masterpiece together. You’re now going to cut the yarn from the hook and pull your yarn through the sewing needle. You’re now going to sew on the top of the stitches and pull them together. Now your crochet project should start looking like a hat, you’re going to take the ends of the hat and line them up and start sewing those in with the sewing needles. Once you’re done you now have a nice hat to wear for the fall season.
Enjoy fall break everybody!