

By: Kirsten Meyers
Not sure how to get ready for Halloween? Are you looking into decorating your house into a total madhouse? Well, you’ve come to the right article, I will be suggesting a variety of DIYS that might peek your interest.
For this first do it yourself project, you will be making an easy bateyes which is inexpensive, and fun to make. You’re going to need an empty toilet roll, black sharpies, scissors, paint brush, and glow in the dark sticks. This DIY is easy and inexpensive. If you don’t have glow in the dark sticks you can get them at a dollar store/family tree for a dollar.
First, you’re going to take the empty toilet roll with your sharpie and draw two big roundish triangulars. Make sure they’re spaced out because these will be your bat eyes. Then, you’re then going to take your glow sticks and crack them.
Take your scissors and chop off the tip of the glow stick, now pour that into a plastic cup or plate, or if you’re edgy dump it onto your eyes (just kidding with that last bit). Now you’re going to take a paint brush, brush the glowing substance onto the round eyes and tada! You’re done.
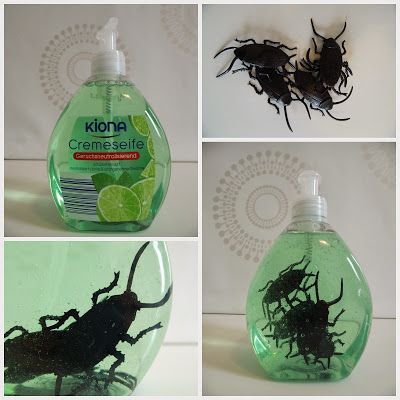
For this next spooky DIY, you will need a plain wreath (black preferably), fake cobwebs, hot glue gun, and plastic spiders. You can find all these items at your local arts and crafts store, let’s get started!
You’re going to take your plain wreath and cobwebs wrapping and intertwine the cobwebs to your wreath. This should make a nice circular mess but don’t panic, it’s supposed to look like that! Once you have your wreath looking the way you want it, now it’s time to start gluing down your spiders.
Take the spiders, position them how you want them on your wreath, now you can start gluing them down on the wreath with your hot glue gun. Now you’re done and you can hang the wreath, or do whatever you plan to do with the wreath.
Continuing down the list, we now come to a classic in general and will taken from my previous halloween DIY. Carving pumpkins! Whether you’ve just come back from a pumpkin patch, or just recently bought pumpkins, you’re most likely going to carve them so, I’m going to give you tips and tricks to experience a smooth and fun time with carving pumpkins, especially if you aren’t familiar to carving pumpkins which is fine.
First you’re going to take the stump off of your pumpkin (make sure you make a big enough hole, it’ll help you in the long run of carving your pumpkin) start gutting the pumpkins. How do you gut a pumpkin exactly?
It’s quite easy, once you’ve taken the top of your pumpkin off you’re going to take the guts of the pumpkins out (seeds, and stems), you can then either throw away the seeds, or keep them and make them into pumpkin seeds that you can eat, you can look at my older article for the directions to make these delicious seeds.
Okay, now onto the final step, you’re going to print out a design that you like and tape it down onto your pumpkin, try to get it as centered as much as possible so it doesn’t look jacked up, or unless you’re going for that look, you do you. Now, take your carving knife and start cutting into the lines that you see, follow the lines of this design until you’re done. Now you’re done with your pumpkin carvings.
For this next DIY if you’re into baking, you will love this. We’re going to bake spooky sugar cookies to get into the spirit. For this you will need; cookie dough, ghost and pumpkin cookie cutters, a rolling pin, frosting, and cookie sheets. *preheat your oven to 350*
You can get whatever dough you like, because it doesn’t really matter. Now, take your dough and flour up your rolling pin, and start rolling out your dough. Once you’re done rolling out your dough, you can start inserting your cookie cutters, and start putting them on the cookie sheet. Repeat these steps however many times you can make cookies out of the dough.
Now, you’re going to take your cookies and put them into the already preheated oven and let them bake for 10-15 minutes (varies for each oven). Once your cookies are baked you’re now going to let them cool for 10 minutes, this step is extremely crucial because you want your cookies to be completely cooled before your frost them.
You’re going to take orange frosting and completely cover the cookie, you’re now going to put two little dot for eyes of the ghost with a black food coloring pen, or whatever you have on hand. You will now repeat this process until you’re done. And TADA! You now have spooky cookies! Hope you enjoyed the DIYS, have fun this halloween, and as always stay safe.